Using the router attachment on my Dremel, I set the cutter to 3/4" and had fun going in and out of the lines.
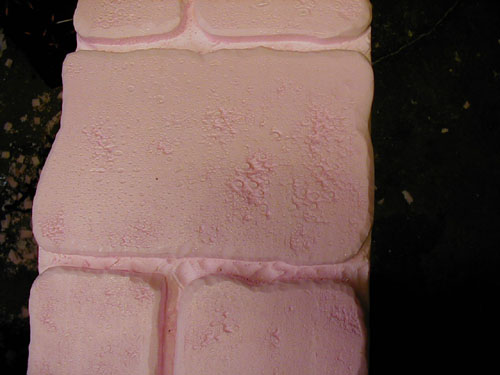
I was experimenting with the drum sander bit on the Dremel, trying to create a chiseled stone look
| Dungeon Walls - How To |
I needed to make some new Dungeon walls this year. For the last 3 years we had walls built of plywood on 2x4 frame, covered with roofing shingles. Needless to say the 4x8 panels weighed in at over 200 pounds. Not to mention hundreds of drywall screws, used to mount the shingles, sticking out the back. After almost breaking my back last year, I decided to re-design.
My inspiration for these came from the pillar design at Blackwood. http://www.blackwood.rhiannonsaille.com/pillars.html
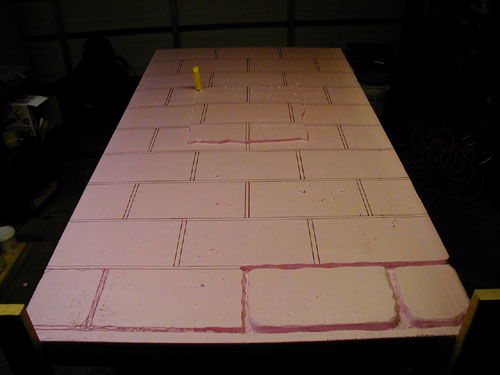
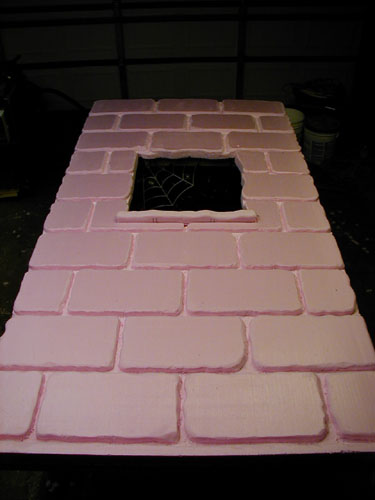
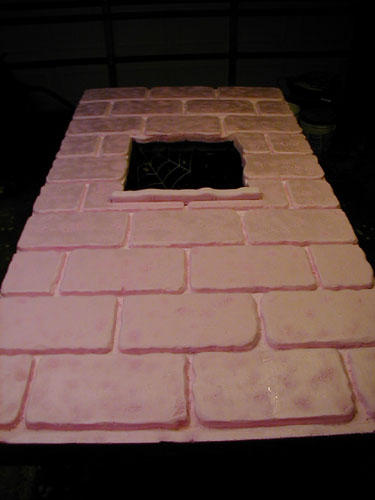
| I took my existing frames, 1/2 inch
plywood with 2x4 supports, and glued 2" x 4x8 pink foam board to them
using PL200 construction adhesive (same stuff as liquid nails).
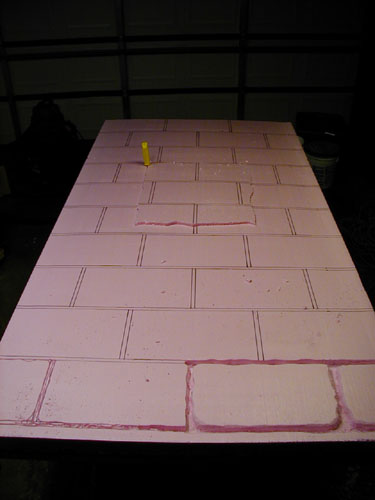
You can see the gridlines I drew as a baseline. 15&1/2" x 9"
stones with 1/2" mortar. Using the router attachment on my Dremel, I set the cutter to 3/4" and had fun going in and out of the lines. |
|
|
I was experimenting with the drum sander bit on the Dremel, trying to create a chiseled stone look |
| On the first wall I spent allot of time
with the drum sander bit on the Dremel, going over each edge 3 times.
I really like the look it created but it was literally weeks of 'every
night' work. On the rest of the panels, I chose a different
approach. |
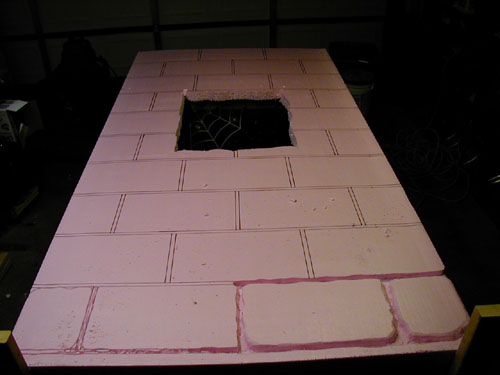
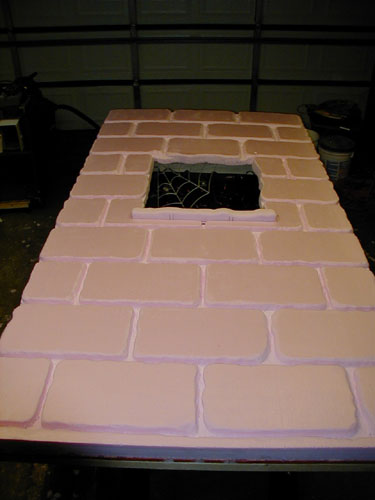
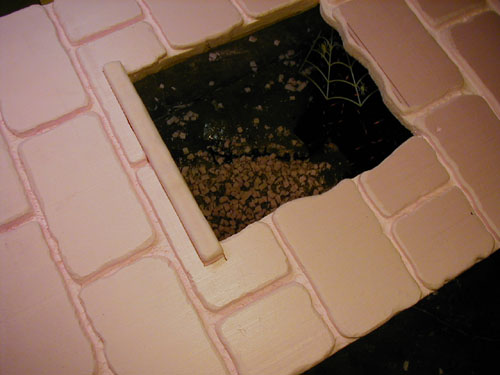 A spare hunk of foam was used for a window ledge |
 |
 |
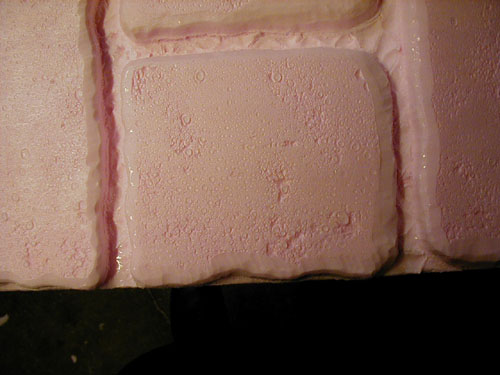
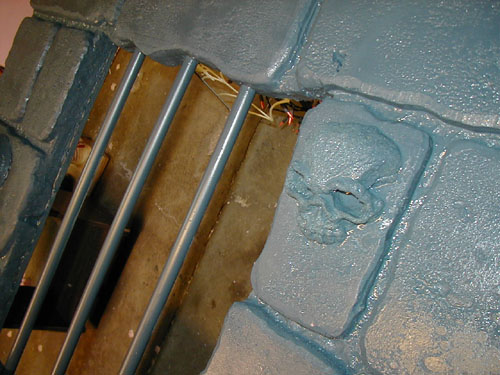
| Here you can see the chiseled edges. I used the propane torch to stress the foam. First sprayed with water, the torch creates some cool effects. |
 |
 |
 |
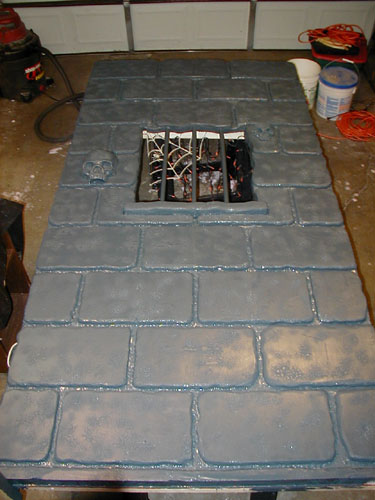
| Adding the final touches. Skulls from Terror Syndicate www.terrorsyndicate.com Dark grey flat latex as a base coat. The bars are PVC pipe. they are just jammed into the foam - I created a little cutter tool by sharpening a small piece of PVC into a point. |
 |
 |
 |
| Dry brush with a mixture of the base
coat, and a lighter shade. Looked pretty cool when it dried. |
 |
 |
 |
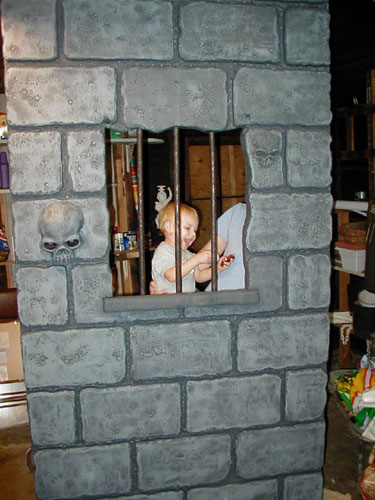
| Lt. Sparks hanging out in the Dungeon.
He is playing with a mini skull in his hands, he calls them Ooh- Ha-Ha's.
Pumpkins are Pum-Dees. For wall 2, I used sandpaper instead of the
Dremel sander, to round the edges. I did a little more cutting
with the cutting bit to emulate chiseling stone. You can tell the
difference when you are up on it, but at any distance it looks just as
good. It only took a couple hours for this one. |
 |
 |
Thirston Howl turned me on to a cool
technique for speeding up this whole process. I didn't get to try
it out this time, but I may give it a go after I get my compressor. http://www.defrightful.com/Rocky_Horror.htm
|